
In this guide, I will show you how you can Unlock Bootloader, Install TWRP Recovery, and Root Realme X7 Pro using Magisk. This guide is strictly for the Realme X7 Pro smartphone. So, please do not try the shown steps on any other smartphones.
With the help of this guide, you will be able to customize your android like a pro. After rooting your device with Magisk you can install Magisk modules like Xposed Installer and many other amazing modules. You can also speed up your android using the Greenify4Magisk module.
Now before proceeding to the steps I want to explain the advantages of rooting. A rooted android device has a hell of lots of benefits like you can install various Custom ROM on your device, there are many trusted custom ROM available that surely is better than the Stock ROM.
Like you get many new customization features, bloatware-free, completely new design, and much more. So, if you want to unleash your device performance on Realme X7 Pro then do root your device with Magisk and enjoy the beauty of android.
You can switch back anytime by unrooting your device, in this article itself I have shown you the unrooting process as well.
This guide will work on Realme X7 and Realme X7 Pro. So, don’t get confused by the title of this guide.
About Realme X7 Pro
If you’re having a mid-budget of 20K to 25K and going to buy a smartphone right now, then please wait for the launching of Realme’s new invention – Realme X7 Pro.
Well, this beast smartphone isn’t announced yet, but we’ve heard numerous rumors about it which are breathtaking. The expected date of launching for Realme X7 Pro in India is 19 Nov 2020 in three unusual colors, Dark Blue, White, Rainbow, and the 8GB/128GB variant for 23,490.00 INR.
Realme X7 Pro comes with a 120Hz extreme smooth display with large size of 6.55 inches Super AMOLED display. Realme rarely launches AMOLED display phones since a lot of its inventions are made on IPS LCD, but those Realme AMOLED devices offer a dazzling screen.
Here it will provide you with a Full HD AMOLED display of 1080 x 2400 with the Corning Gorilla Glass 5 protection. Moreover, it’s a light-weight 184gm phone that comes with a hybrid dual-SIM setup and an under-display Fingerprint sensor placement.
If you’re already using any Relame X series phone, then you must know about the Camera Quality they provide. Same in the case of Realme X7, It’s equipped with a 64MP sharper quad-camera set up in a brilliant wide rectangular shape.
Furthermore, it’ll be the first Realme Phone to provide a 32MP front-facing selfie camera which will help you in creating exceptional portraits, and possibly it’ll be the best HDR camera phone in the future market.
Performance is one of the most important peculiarities that we look at before purchasing a smartphone. So for making us experience superb gaming performance, The Realme X7 Pro is embedded with the Mediatek Dimensity 1000+ processor, which will grant up to 2.6Ghz speed and as well as a 5G surfing experience.
Furthermore, This smartphone fueled with a 4500mAH powerful battery having 65W super dart charging support which can charge your phone 100% in up to 35 minutes.
Steps to Root Realme X7 Pro Using Magisk
In this guide, I have shown you in detail to Root Realme X7 Pro. You don’t have to follow different articles for Unlocking the bootloader and installing TWRP recovery.
Please read the complete guide before applying the steps this will avoid confusion.
Perquisites
- You need a PC/Laptop to execute the ADB command.
- This method will wipe all your data. So, take a complete Backup of android.
- Charge your phone up to 75% or more.
- Realme X7 Pro Original USB Cable.
Note: Rooting is a complex process, so if you miss any of the below steps will end up bricking your device. So, make sure to follow all the steps carefully as shown.
We are not responsible for any loss and damage to your device. Apply the below steps with your own risk.
Downloads
Below we have given the download links of files that will be used in this guide. In any steps, if the particular file is asked you to download then you can come here and download it. We will update the links according to the latest build by developers.
- UnOfficial TWRP for Realme X7 Pro
- Download TWRP for Realme X7 Pro (Official) – UNDER DEVELOPMENT!
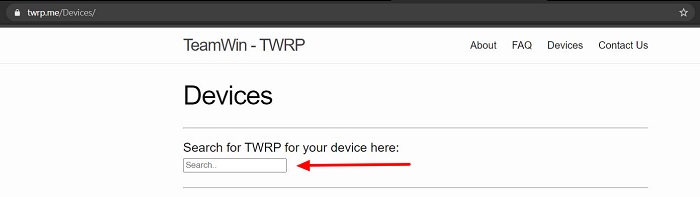
- Head over to TWRP’s official website.
- Now search your device.
-
- Download the file and save it on your Windows desktop.
You can download any of the preferred recovery either official or unofficial recovery. Official TWRP recovery takes time for development.
- Realme X7 Pro Stock Firmware – Download [PC]
- Realme USB Drivers (Optional) – Download [PC]
- SDK Platform Tools – Download [PC]
- Magisk ZIP (Latest Version) – Download [Phone]
- Realme Unlock Tool APK – Download [Phone]
Step 1: Extract Vbmeta.img file from Realme X7 Pro Stock ROM
This file is very important to prevent boot loop problems. So, we have to extract vbmeta.img file before flashing the recovery and Magisk.
- Download Realme X7 Pro Firmware on your PC. (Link will be in the downloads section)
- Copy the firmware file to your Windows desktop for convenience.
- Extract the ROM
.ozipfile using 7Zip-ZS. - Now Copy the
vbmeta.imgfile to your PC. (You can find this file inside the firmware-update folder or you can simply perform a search inside the folder.)
Step 2: Unlock Bootloader on Realme X7 Pro
- First, Go to Settings → About → Software Update → Check if any latest update is available.
- Download and install the Realme Unlock tool apk on your phone.
- Open the app and Tap on “Start applying”.
- Accept the disclaimer and click on the “Submit Application” button.
- Your application will be checked by the Realme server. It may take a few hours to show the “unlocking is successful” message on the app.
- Open the app and tap on “Start the in-depth test” and the device will reboot automatically.
- Next, you will see
fast boot_unlock_verifyok string on the display.
Perform the below steps on PC/Laptop
- Extract SDK Platform Tool zip file and open the extracted folder.
- Type
cmdon the address bar of theplatform-toolsfolder and hit ENTER.
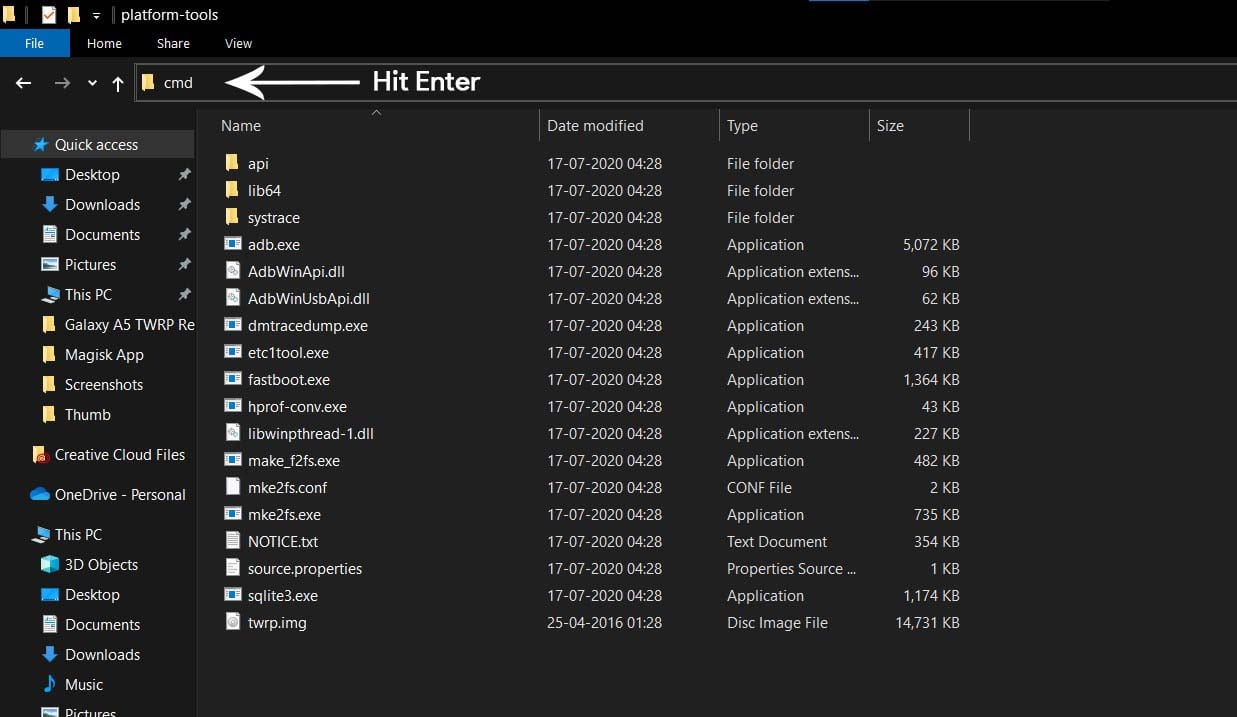
- Now a command window will open.
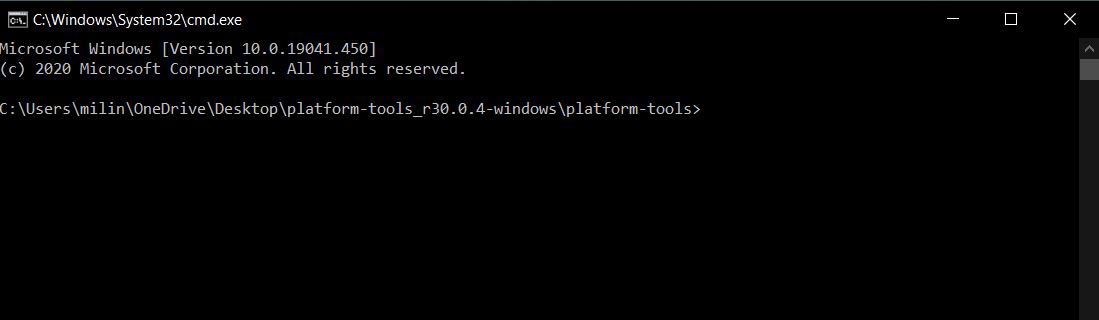
- Connect Realme X7 Pro to PC via original USB cable.
- On the command window type the below command. It should display the connected devices.
fastboot devices
- Type the following command to reboot Realme X7 Pro into bootloader mode.
adb reboot bootloader
Press “Enter” on your keyboard
- Next, type the following command to unlock the bootloader on Realme X7 Pro.
fastboot flashing unlock
Press “Enter” on your keyboard
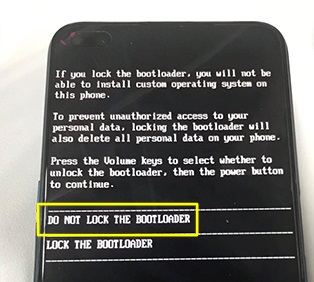
- On your phone press the Volume Up button to select “UNLOCK THE BOOTLOADER”.
- After that, all your data will get erased and your phone will freshly bootup.
- That’s It, the bootloader on Realme X7 Pro is successfully unlocked!
Step 3: Install TWRP Recovery on Realme X7 Pro
- Now Download TWRP Recovery for Realme X7 Pro on your PC. (Link is in the Download section)
- Rename the recovery image to
twrp.img. - Now move the TWRP image file to the platform-tools folder.
- Again type
cmdon the address bar of the platform-tools folder and hit ENTER.
- Now a command window will open.
- On your phone Enable the Developer Options
- Go to Settings → System → About Phone and then tap Build Number six times.
- Next, Enable USB Debugging
- Settings → Developer Options → enable USB Debugging option.
- Connect Realme X7 Pro to PC using the original USB cable.
- On the command window type the following command.
fastboot devices
- Hit Enter, It should display the connected devices.
- If your device didn’t get recognized by your PC then try reconnecting or check whether ADB and Fastboot drivers are installed successfully or not.
- Next, type the following command to boot Realme X7 Pro into fastboot mode/ bootloader mode.
adb reboot bootloader
- Hit Enter, Now Drag and drop your
vbmeta.imgfile or you can copy the vbmeta file and paste it to the platforms folder and then run the below command.
fastboot –disable-verity –disable-verification flash vbmeta vbmeta.img
- Hit Enter, type the below command to flash TWRP recovery on Realme X7 Pro.
fastboot flash recovery twrp.img
- Finally, reboot Realme X7 Pro into recovery mode by entering the below command.
fastboot reboot recovery
- That’s It, the TWRP on Realme X7 Pro is successfully flashed!
Step 4: Root Realme X7 Pro using Magisk
Now we are finally ready to flash the Magisk zip file on Realme X7 Pro.
- Download Magisk.zip (Latest Version)
- Now Power off your device.
- Press the Volume Up + Power button to boot into the recovery mode.
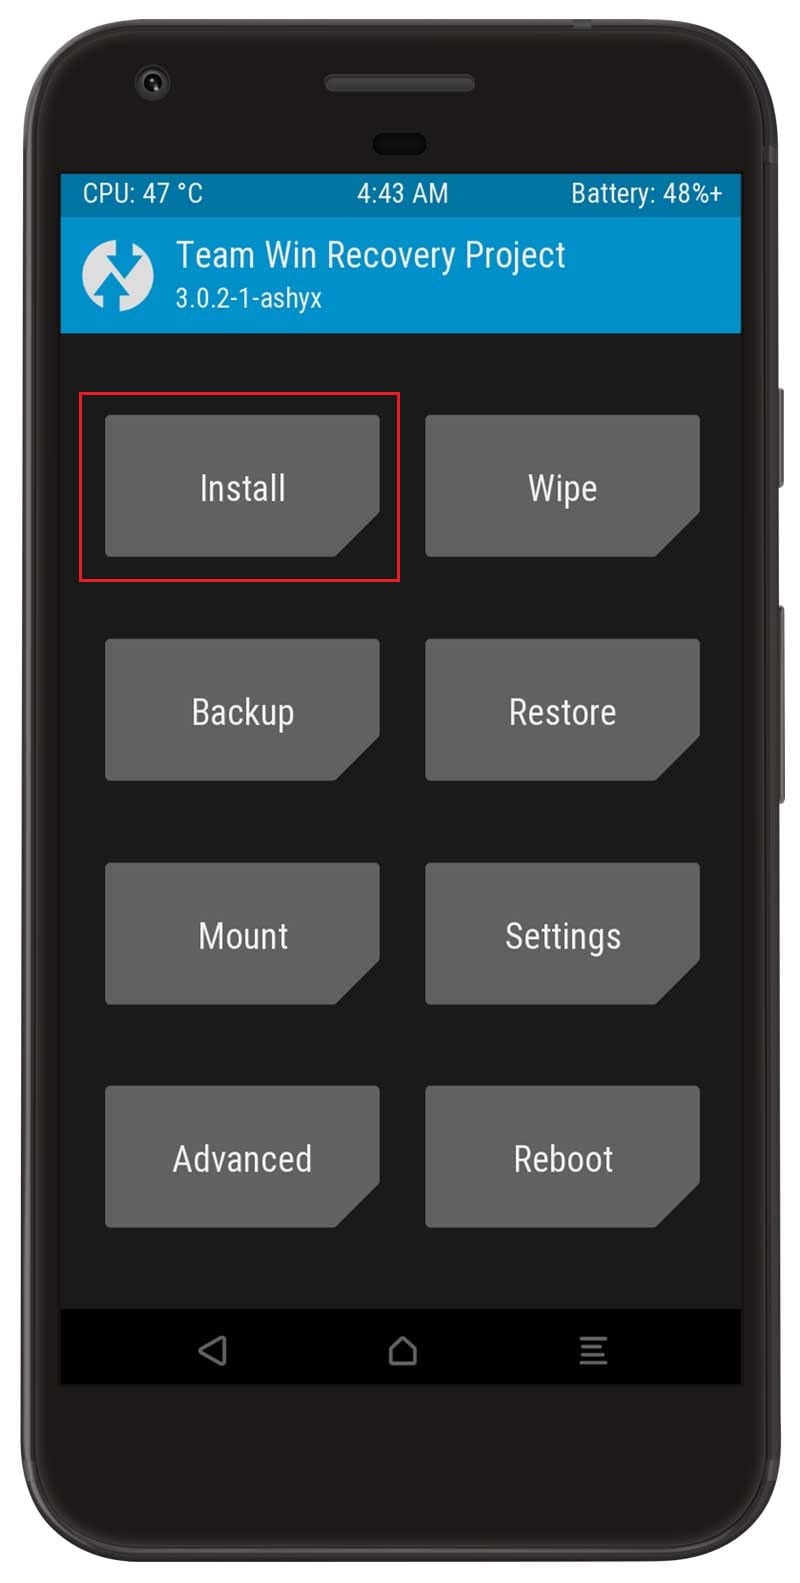
- Under the TWRP recovery page, select Install.
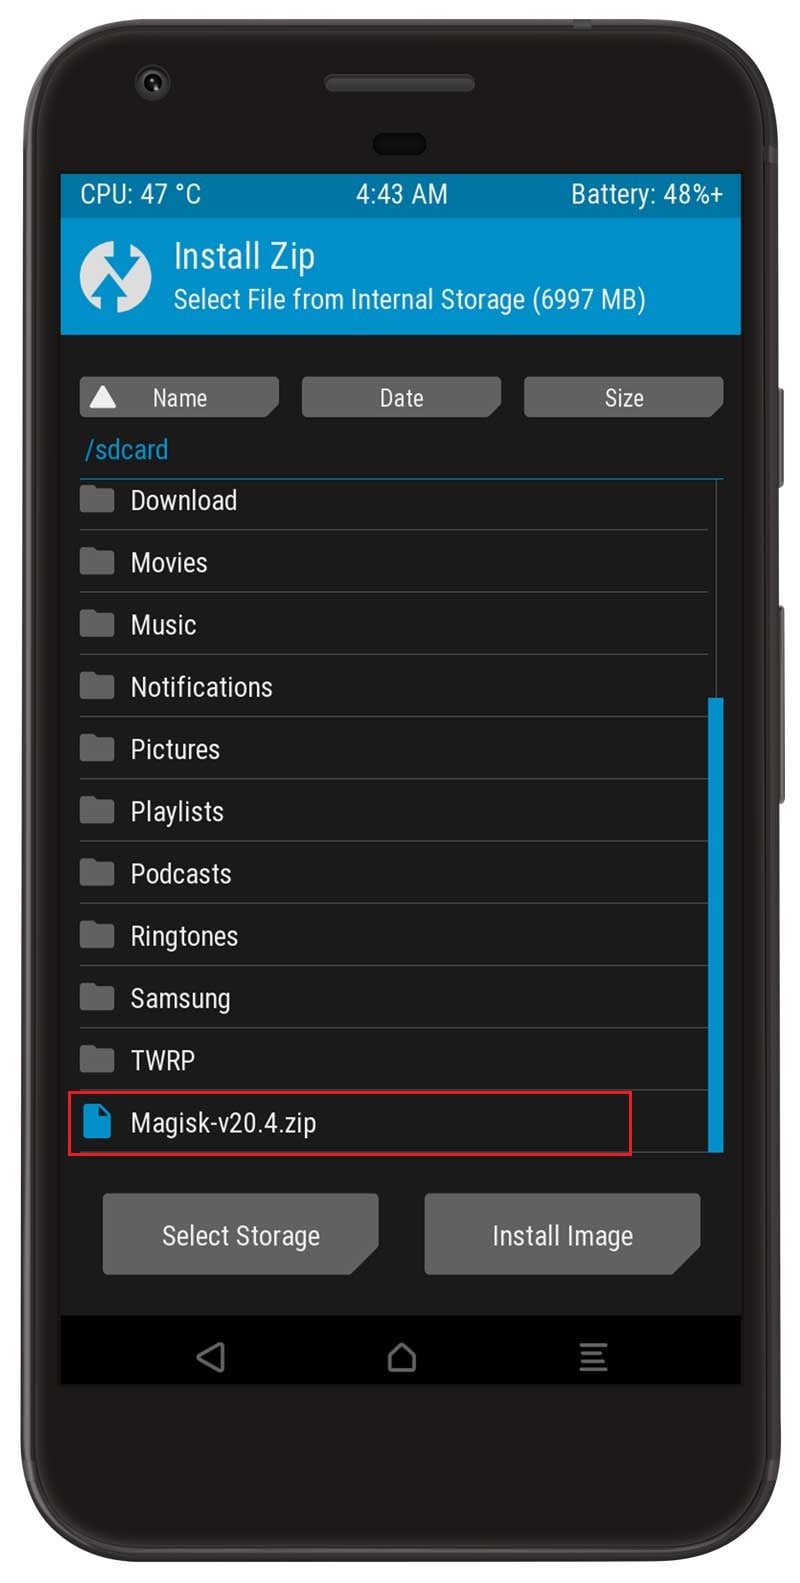
- Locate the Magisk zip file and select it.
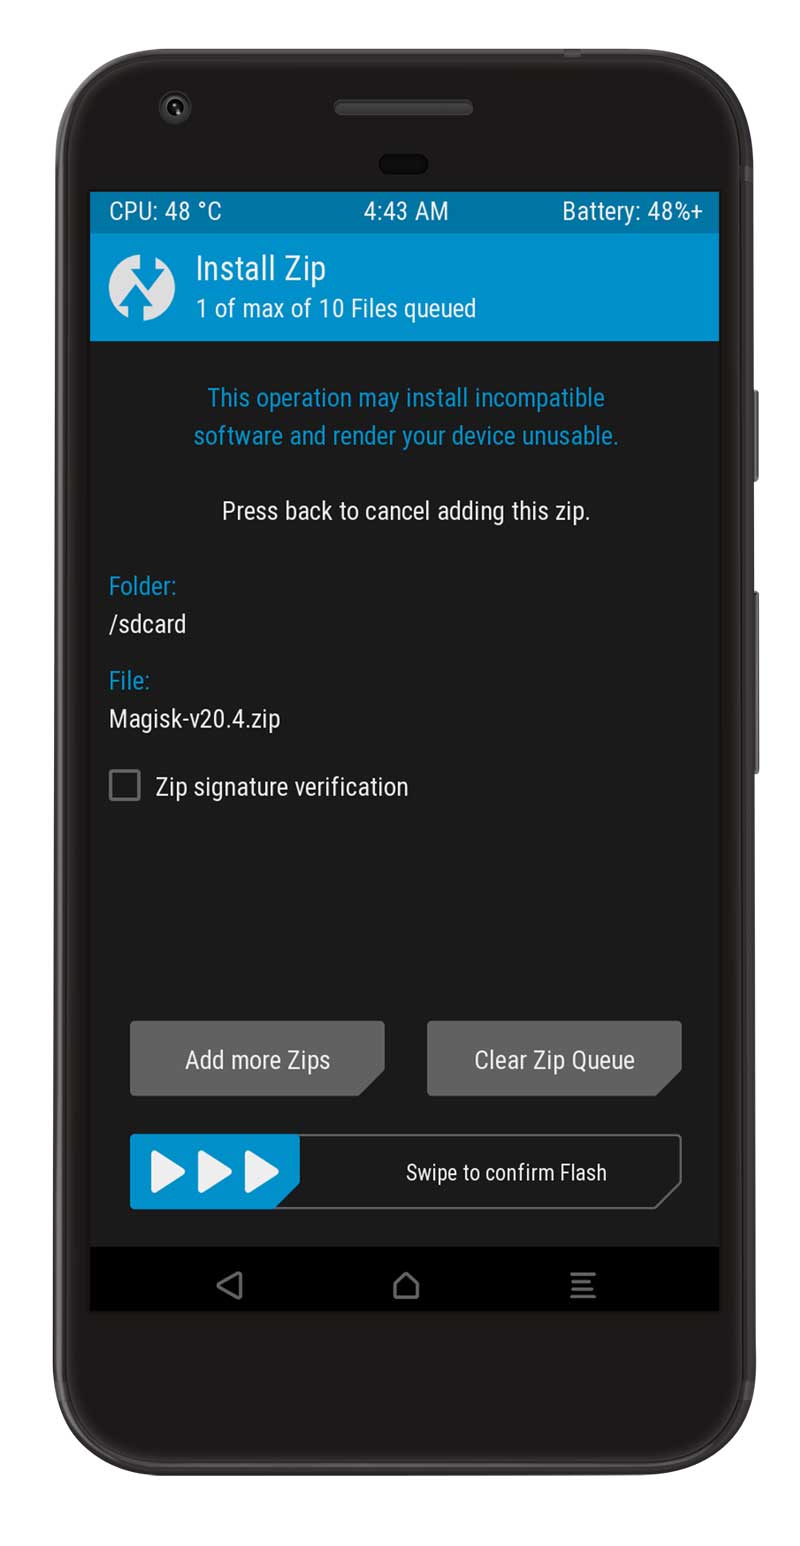
- Next, Swipe to confirm Flash.
- Once the flashing process completes tap on the Reboot system.
- That’s it, you have successfully rooted your Realme X7 Pro device.
Now you can install Magisk App to manage root permissions, install Magisk Modules, and more.
[su_box title=”Related Articles” box_color=”#01B09B” radius=”0″]
[/su_box]
Conclusion –
We have shown you all the required steps to Root Realme X7 Pro smartphone. I hope you find this guide helpful and informative. If you like it then do share your valuable feedback in the comments or if you have any suggestions regarding our articles then you can contact us as well.