In this guide, I will be showing how to Root OnePlus Nord with Magisk. Since OnePlus Nord is recently launched there are no TWRP or flashable Magisk zip files available for this phone. But don’t worry we can still root this device using the boot patched image.
Now if you have been into Android then you must be knowing about Magisk. If not then let me tell you, Magisk is a tool that allows us to safely root android devices without modifying the real system files.
This is the most important feature of this tool. Unlike other methods, Magisk is very safe and Google’s SafetyNet friendly. That means after rooting your device you can run banking apps without any issue.
By following this guide you will be able to Unlock Bootloader on OnePlus Nord and Root OnePlus Nord with the help of Magisk. As we are unlocking the bootloader it will void the device warranty. You can relock the Bootloader of your OnePlus Nord any time you want.
Let’s see a quick overview of this smartphone.
About OnePlus Nord
OnePlus recently launched its mid-range smartphone, OnePlus Nord. This is not just the phone but a series, you will see a lot of other budget-centric smartphones in the upcoming months. The phone features a 6.44 inches SUPER AMOLED display, the display on this phone supports a 90 Hz refresh rate.
You are getting Corning Gorilla Glass 5 protection on the front and backside of the phone. This phone comes with Snapdragon 765 G which is an Octa-core 5G chipset. Talking about the OS, OnePlus Nord runs on the latest Android 10 on top of OxygenOS.
You are getting a Quad camera setup on the back, which is 48 MP + 8 MP + 5 MP + 2 MP and the Dual selfie camera on the front which is 32 MP + 8 MP. This device features a 48MP Sony IMX586 main sensor with OIS and EIS. You can record videos at 4K 60 FPS and Slow Motion at 1080p at 240 FPS.
The best part of this phone is that it supports a 5G modem, which makes this phone future-proof. Plus you will get a strong network on the phone thanks to the 765G processor. OnePlus Nord has a big 4115 mAh battery that supports WarpCharge 30T, fast charging. This device can easily last you 2 days without any issue.
Steps to Root OnePlus Nord with Magisk
Below I have shown step by step procedure to Root OnePlus Nord. You just have to follow each and every step carefully, or else you may face trouble booting up your device again.
Please read the complete guide before applying the steps. This will avoid confusion.
Things to remember
- Make sure to disable all security Locks on your OnePlus Nord.
- Take Full Backup of your Android device.
- You need a PC to perform the Commands.
- Fully charge your phone.
- OnePlus Nord Original USB Cable.
Note: Rooting is a complex process, so if you miss any of the below steps will end up bricking your device. So, make sure to follow all the steps carefully as shown.
We are not responsible for any loss and damage to your device. Apply the below steps with your own risk.
Step 1: Enable OEM Unlocking on OnePlus Nord
- Follow the below steps to enable USB debugging and the OEM Unlock option.
- Go to Settings → About Phone → Tap on Build number 5-6 times.
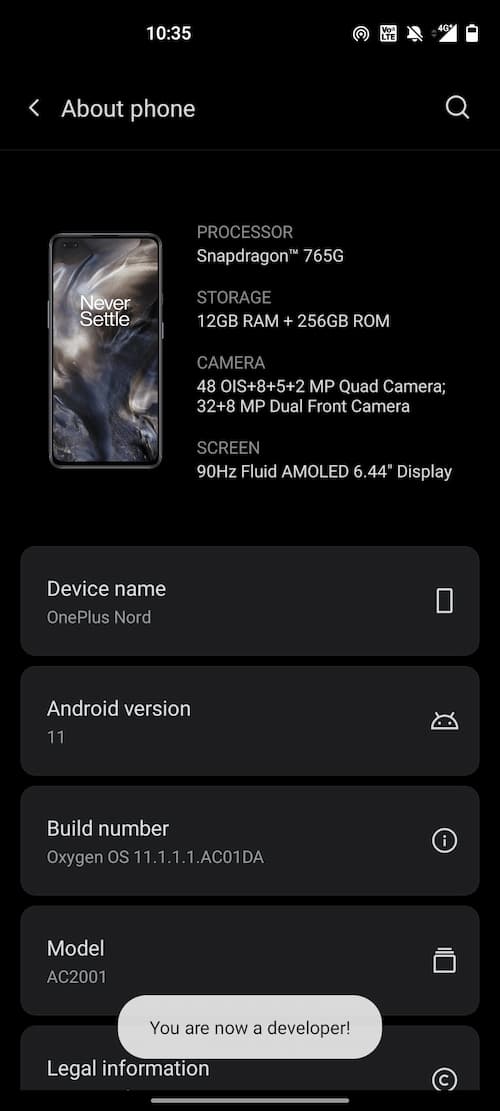
- Now go Back → System → Developer options → enable “OEM Unlocking” and “USB debugging”.
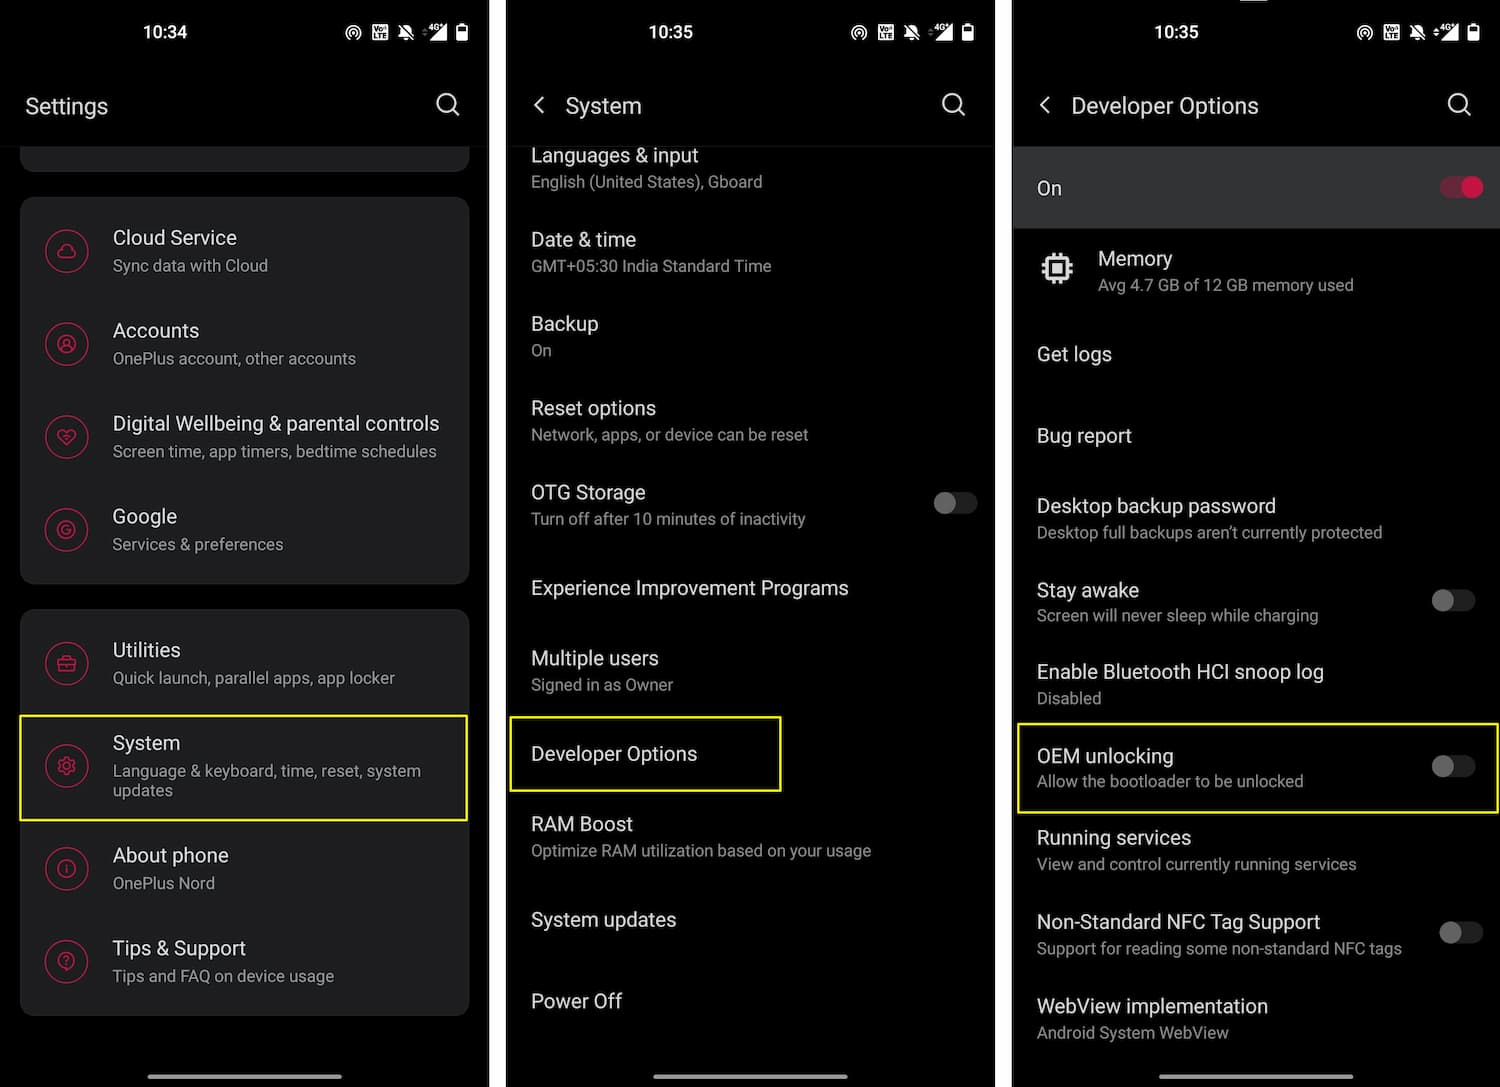
If you see the OEM unlocking option is missing or is greyed out, then you need to check few things.
- Make sure that you have logged into your Google account.
- Also, check if you have an active Internet connection or not.
Step 2: Unlock Bootloader on OnePlus Nord
- Connect your OnePlus Nord device to the PC using the original USB cable.
- Open the
Platform-toolsfolder and type “cmd” in the address bar and hit Enter.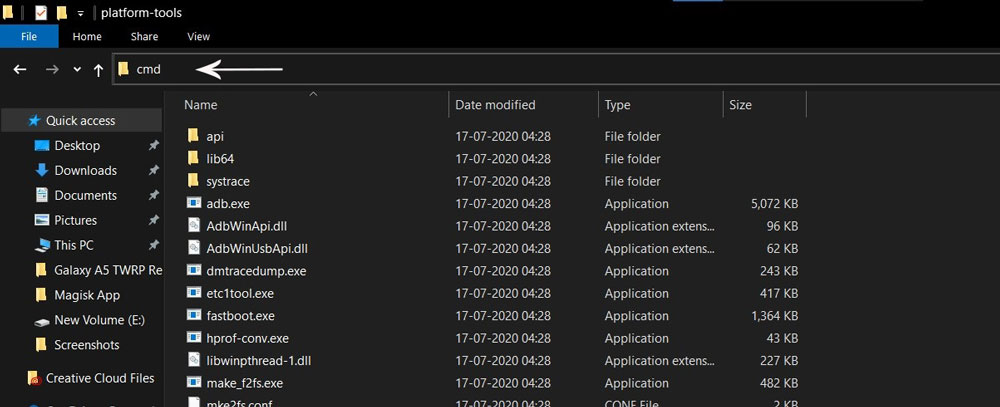
- The Command window will open.
- Connect OnePlus Nord to PC via original USB cable.
- On the command window, type the below command. It should display the connected devices.
fastboot devices
- Hit Enter, Next type the following command to boot OnePlus Nord into fastboot mode.
adb reboot bootloader
Press “Enter” on your keyboard
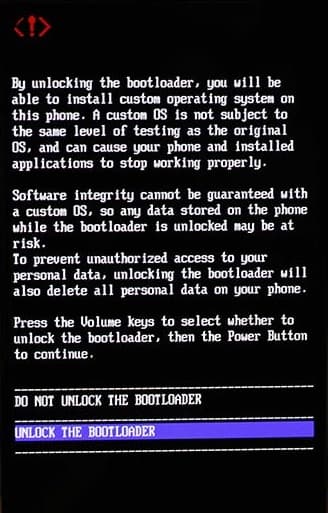
- Next, type the following command to Unlock the Bootloader on OnePlus Nord. (Note: Unlocking the bootloader will wipe all your data).
fastboot flashing unlock
Press “Enter” on your keyboard
- On your phone, press the Volume buttons to move the selector to “UNLOCK THE BOOTLOADER” and press the power button to confirm.
- After that, all your data will get erased, and your phone will freshly boot up.
- That’s It, the bootloader on OnePlus Nord is successfully unlocked!
Downloads
In any steps, if the particular file is asked you to download, then you can come here and download it. We will update the links according to the latest build by developers.
- Stock Boot Image for OnePlus Nord – Download (Download the Stock Boot Image according to your region.)
- Download Magisk App (Latest Version)
- OnePlus USB Drivers (Optional) – Download
- SDK Platform Tools – Download
Step 3: Install Magisk App on OnePlus Nord
- Download the Magisk App on your phone.
- Now extract the downloaded Stock Boot Image zip file.
- Copy
boot.imgfile from the extracted folder and transfer it to your phone’s internal storage. - Install Magisk App apk file on your device.
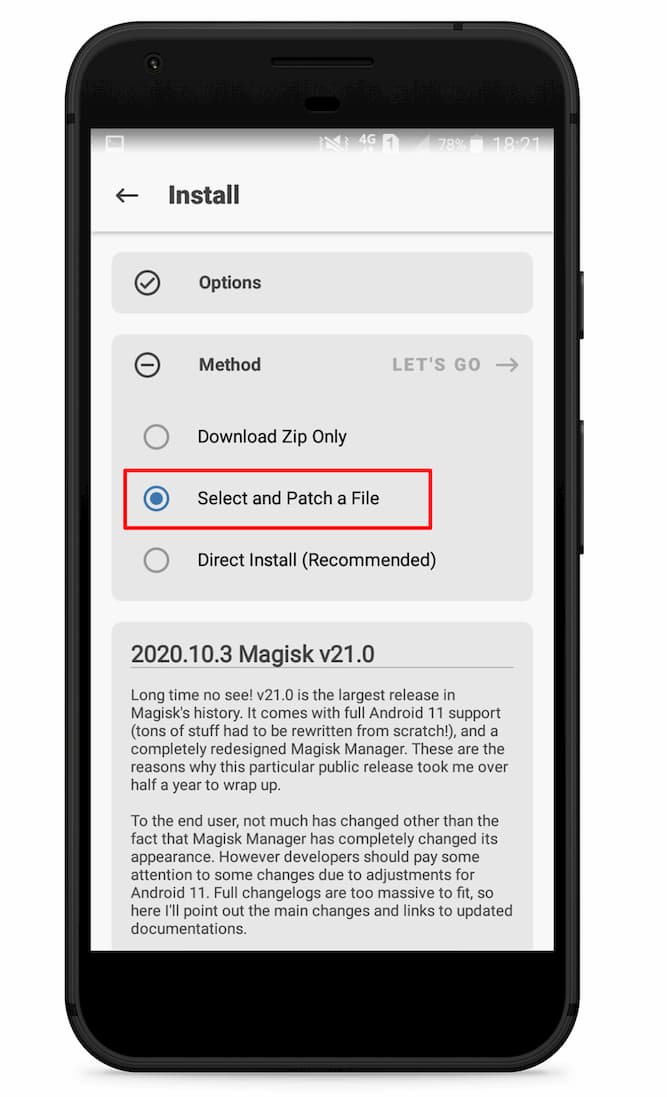
- Open the app and tap on INSTALL.
- Next, tap on the “Select and Patch a File” option and Locate the boot.img file.
- Wait until Magisk patches the boot image. The patched file can be found in the Downloads folder.
- Rename
magisk_patched.imgtoboot.imgagain. - Now Copy that renamed
boot.imgto your PC/Laptop.
Step 4: Replace the phone’s current boot image with Magisk patched image
- Again return to the Command window and type the following command to boot OnePlus Nord into fastboot mode.
adb reboot bootloader
- Once the phone boots into fastboot mode, type the below command to flash our patched boot image file into your phone.
fastboot flash boot boot.img
- Next, once the flashing process completes, type the below command to Reboot your OnePlus Nord device.
fastboot reboot
- Open the Magisk App and check the Root status.
- You can also verify if your rooted OnePlus Nord passes SafetyNet by pressing the “Check SafetyNet” button in Magisk App.

- That’s it. You have successfully Rooted your OnePlus Nord smartphone.
Now you can take full advantage of your android. You can install Root apps, Magisk Modules, and many more other customizations.
[su_box title=”Related Articles” box_color=”#01B09B” radius=”0″]
[/su_box]
Final Word
As this was the early development of the OnePlus Nord, rooting this phone involved a few more steps as compared to the TWRP recovery method. If you encounter any problems while Rooting the OnePlus Nord smartphone then make sure to leave a comment. We will try to resolve your problems as soon as possible.
We will be coming with more guides for this device. Stay Tuned for upcoming tutorials.
// XDA Source
hello. I tried rooting my OnePlus Nord today. It keeps getting stuck in the booting up screen and I factory reset it many times. in the Magisk app it shows that it is rooted but I think I used the wrong boot because I can’t turn my wifi on. I am using Oxygen OS 11 beta 5. other sites tell me to go to recovery mode and delete cache to make wifi work but if I go to recovery I can’t come back unless I factory reset. please help
If your wifi is not working after Rooting then try flashing Stock ROM on your device. Here is the link to the official ROM – https://www.oneplus.in/support/softwareupgrade/details?code=PM1596593883414
After doing the tutorial step by step without any differences or errors it should now be rooted. Nevertheless Checking SafetyNet and checking the root state in another app says that the device is not rooted. The only difference i see is that my phone has the Build-Number OxygenOs 11.1.1.3.AC01BA but the most recent version of Stock Boot Image ist for Version OxygenOS 11.1.1.2.AC01DA.
Yes, we have updated the stock boot image to the latest version.