Hey there, are you looking for a guide on how to how to Root Asus ROG Phone 2 via Magisk, Unlock the bootloader and install TWRP Recovery? In today’s guide, I will show you step by step procedure to root this device using magisk.
This guide with work on any Asus ROG Phone 2 running on Android 9 Pie and Android 10. Before proceeding to the steps part let me give you a quick overview of this tutorial. First, we will Unlock Bootloader on Asus ROG Phone 2 using Asus Unlock Tool. This is basically an APK file that unlocks the phone via Asus servers.
Next up, we will flash a custom recovery on Asus ROG Phone 2, the best one that every android geeks prefer is the TWRP Recovery. Once we complete these two steps then we can proceed to flash Magisk Zip on Asus ROG Phone 2. So, this was the quick introduction lets see these steps in action.
About Asus ROG Phone 2
ASUS is one of the best companies manufacturing gaming laptops and a few other gaming accessories such as Keyboard, Mouse, and Gamepads. ROG DNA was the first product manufactured by ASUS in the ROG series, and after that, they created tremendous exceptional laptops and motherboards in it.
Right now, we’re living in the smartphone era where everything is possible on a smartphone only. So by imbuing the ROG power, ASUS has launched a gaming smartphone, ASUS ROG Phone II, where you’ll observe the fastest 2.9GHz performance as well as the world-class liquid cooling feature.
ASUS ROG Phone II is a gaming phone, and for propounding you the immersive gaming display, it’s implanted with the 6.59 inches larger AMOLED screen with Corning Gorilla Glass 6 protection. Moreover, it’ll also extend you with the 1080 x 2340 pixels FUll HD gaming with the smooth display boasting the 120Hz refresh rate. It comes in an entire gaming design comprising both a side glass body and as well as RGB light panel on the backside for an elegant gaming look.
This impeccable smartphone comes with 4 Wi-Fi antennas for boosting your network speed while playing online games. Here in this beast smartphone, you can play any single game fluently available on Google Play Store since it’s engrafted with the Qualcomm SM8150 Snapdragon 855+ octa-core processor chip with the Adreno 640 GPU processor support. For enhancing your gaming experience, ASUS ROG Phone II Ultrasonic AirTriggers and Dual Zone 3D Haptics.
This gaming smartphone comes with an extraordinary setup consisting of Side-mounted Ports for a 30W fast charger and headphone jack. Furthermore, it also comes with a 48 MP + 13 MP dual rear camera setup and as well as a 24 MP HDR selfie camera. Thanks to its high-capacity 6000 mAh battery which will hook you up playing full HD games the entire day. This power pack comes in two different variants – 8GB/128GB and 12GB/512GB starting from 39,999.00 INR.
Steps to Root Asus ROG Phone 2 With Magisk
This guide has everything you need to Root Asus ROG Phone 2. You don’t have to follow different articles for Unlocking the bootloader and installing TWRP recovery.
So, follow the guide until the end and make sure to apply all the steps carefully.
Perquisites
- You need a PC/Laptop to execute the ADB command.
- This process will wipe all your data. So, take a complete Backup of android.
- Charge your phone up to 75% or more.
- Asus ROG Phone 2 Original USB Cable
Note: Rooting is a complex process, so if you miss any of the below steps will end up bricking your device. So, make sure to follow all the steps carefully as shown.
We are not responsible for any loss and damage to your device. Apply the below steps with your own risk.
Downloads
Below we have given the download links of files that will be used in this guide. In any steps, if the particular file is asked you to download then you can come here and download it. We will update the links according to the latest build by developers.
- Download Unofficial TWRP for ROG Phone 2 (ZS660KL)
The unofficial build of TWRP is recommended by the developer.
- Download Official TWRP for ROG Phone 2 (ZS660KL)
- Download Magisk ZIP (Latest Version)
Step 1: Unlock Bootloader on Asus ROG Phone 2
- First, Go to Settings > About > Software Update > Check if any latest update is available.
- Download and install the Asus Unlock tool apk on your phone.
- Open the app, accept the user license agreement, and Tap OK.
- Now tap on the “Press to Unlock your Device” button.
- Your phone will now reboot and the bootloader on Asus ROG Phone 2 will be unlocked.
- That’s It, the bootloader on Asus ROG Phone 2 is successfully unlocked!
- After that, all your data will get erased and your phone will freshly bootup.
Step 2: Install TWRP Recovery on Asus ROG Phone 2
- Download SDK Platform Tool on your PC.
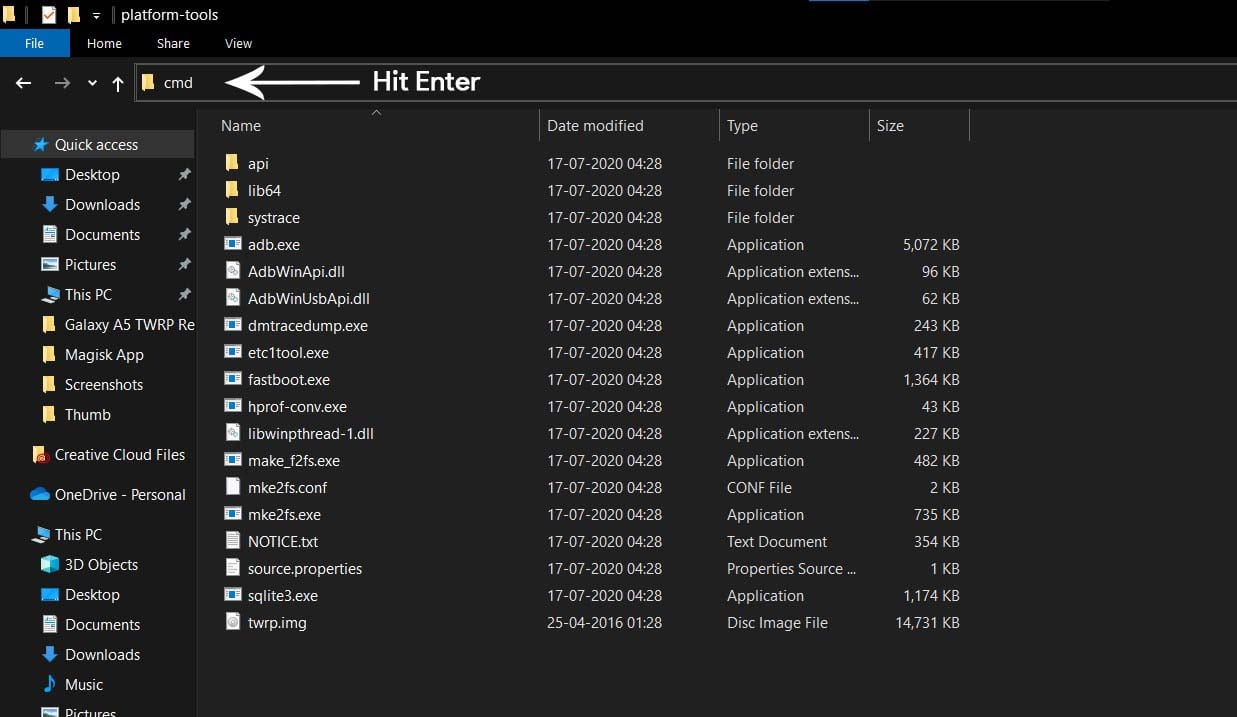
- Extract the downloaded zip file and open the extracted folder.
- Now Download TWRP Recovery for Asus ROG Phone 2 on your PC.
- Rename the recovery image to twrp.img.
- Now move the TWRP image file to the platform-tools folder.
- Type “cmd” on the address bar of the platform-tools folder and hit ENTER.
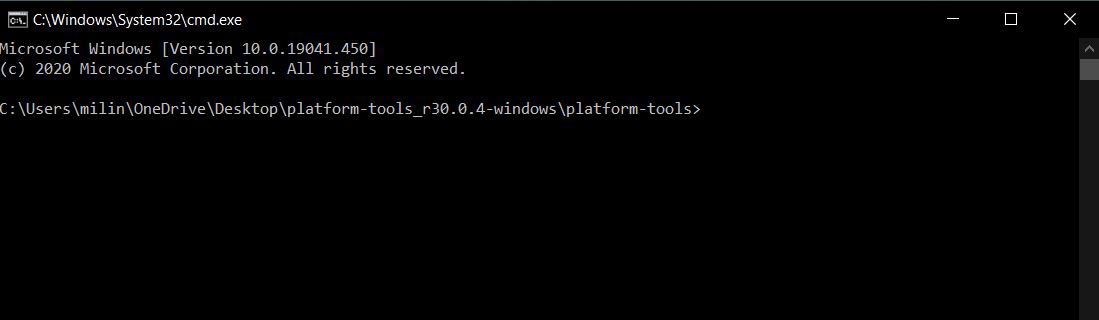
- Now a command window will open.
- On your phone Enable the Developer Options
- Go to Settings > System > About Phone and then tap Build Number for six times.
- Next, Enable USB Debugging
- Settings > Developer Options > enable USB Debugging option.
- Connect Asus ROG Phone 2 to PC using the original USB cable.
- On the command window type the following command.
adb reboot bootloader
- The above command will boot your device into bootloader mode. Next Type the following command.
fastboot devices
- Hit Enter, this command will help you to verify whether your phone is connected successfully or not.
fastboot flash recovery twrp.img
- The above command will flash TWRP recovery on Asus ROG Phone 2.
- That’s It, the TWRP on Asus ROG Phone 2 is successfully flashed!
Step 3: Root Asus ROG Phone 2 using Magisk
Now we are finally ready to flash Magisk zip file on Asus ROG Phone 2.
- Download Magisk.zip (Latest Version)
- Now Power off your device.
- Press the Volume Up + Power button to boot into the recovery mode.
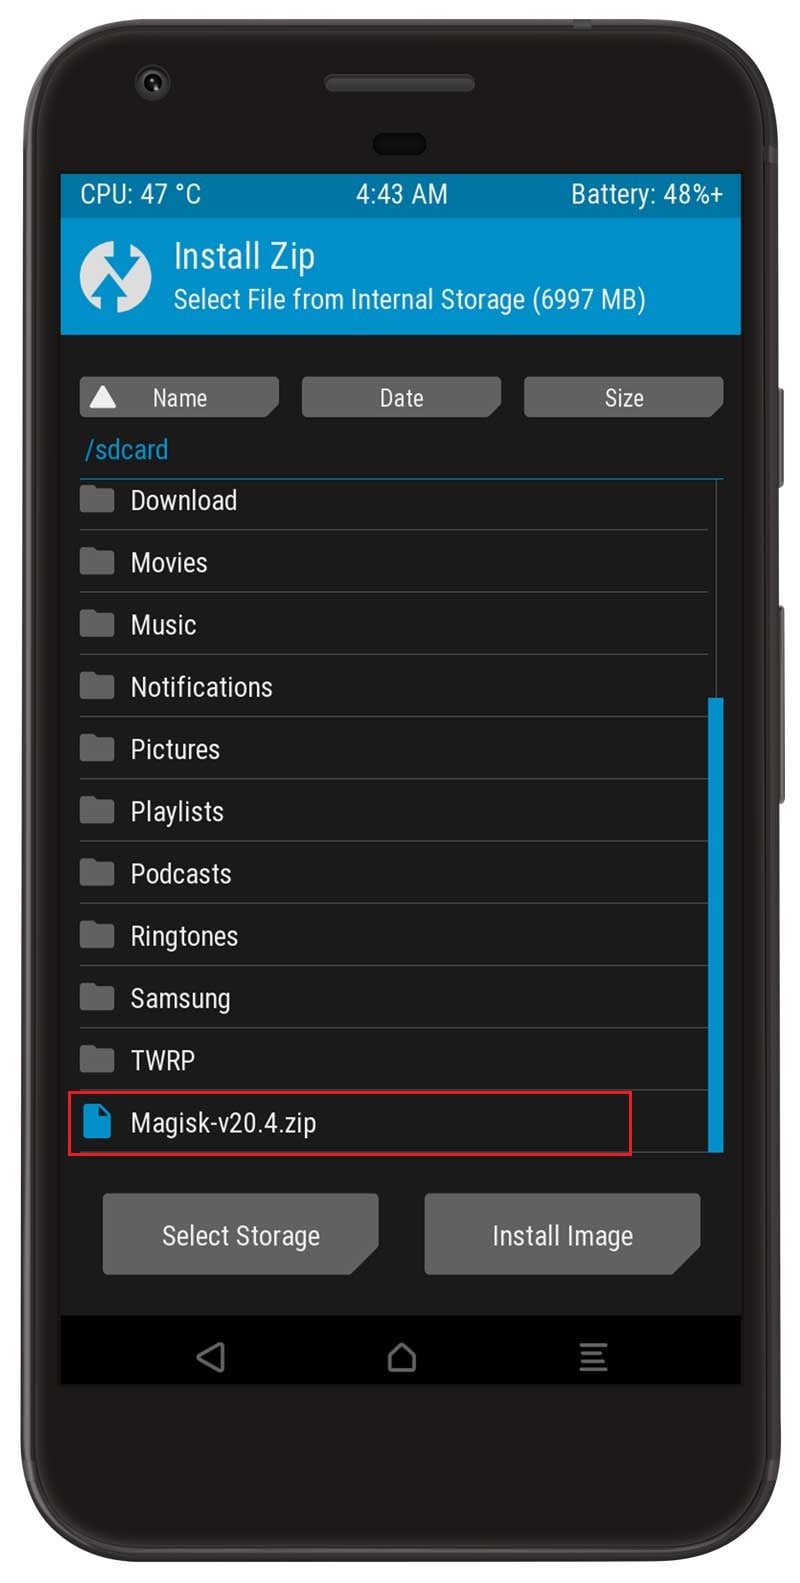
- Under the TWRP recovery page, select Install.
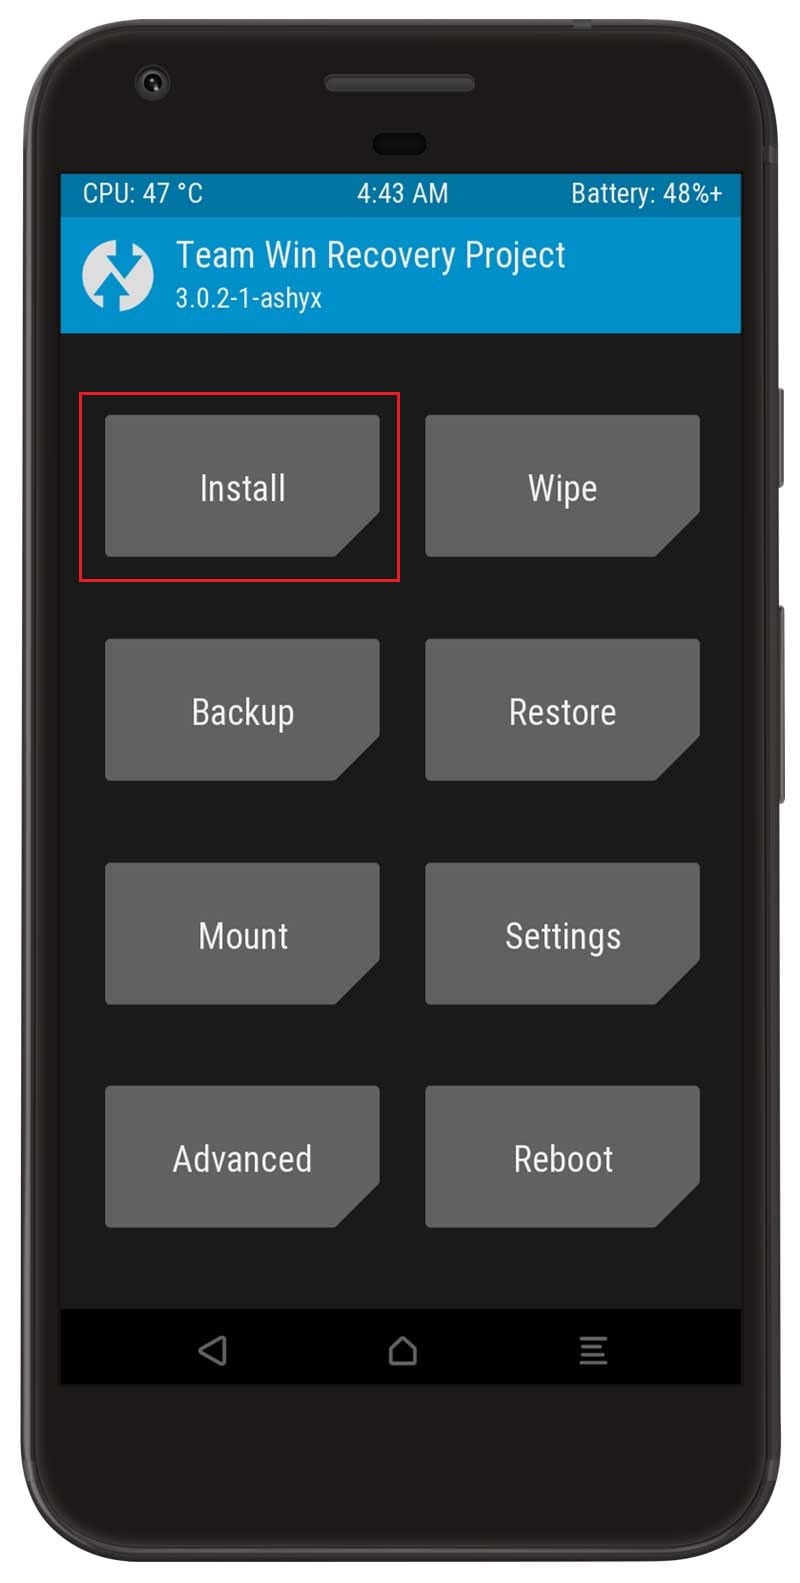
- Locate the Magisk zip file and select it.
- Next, Swipe to confirm Flash.
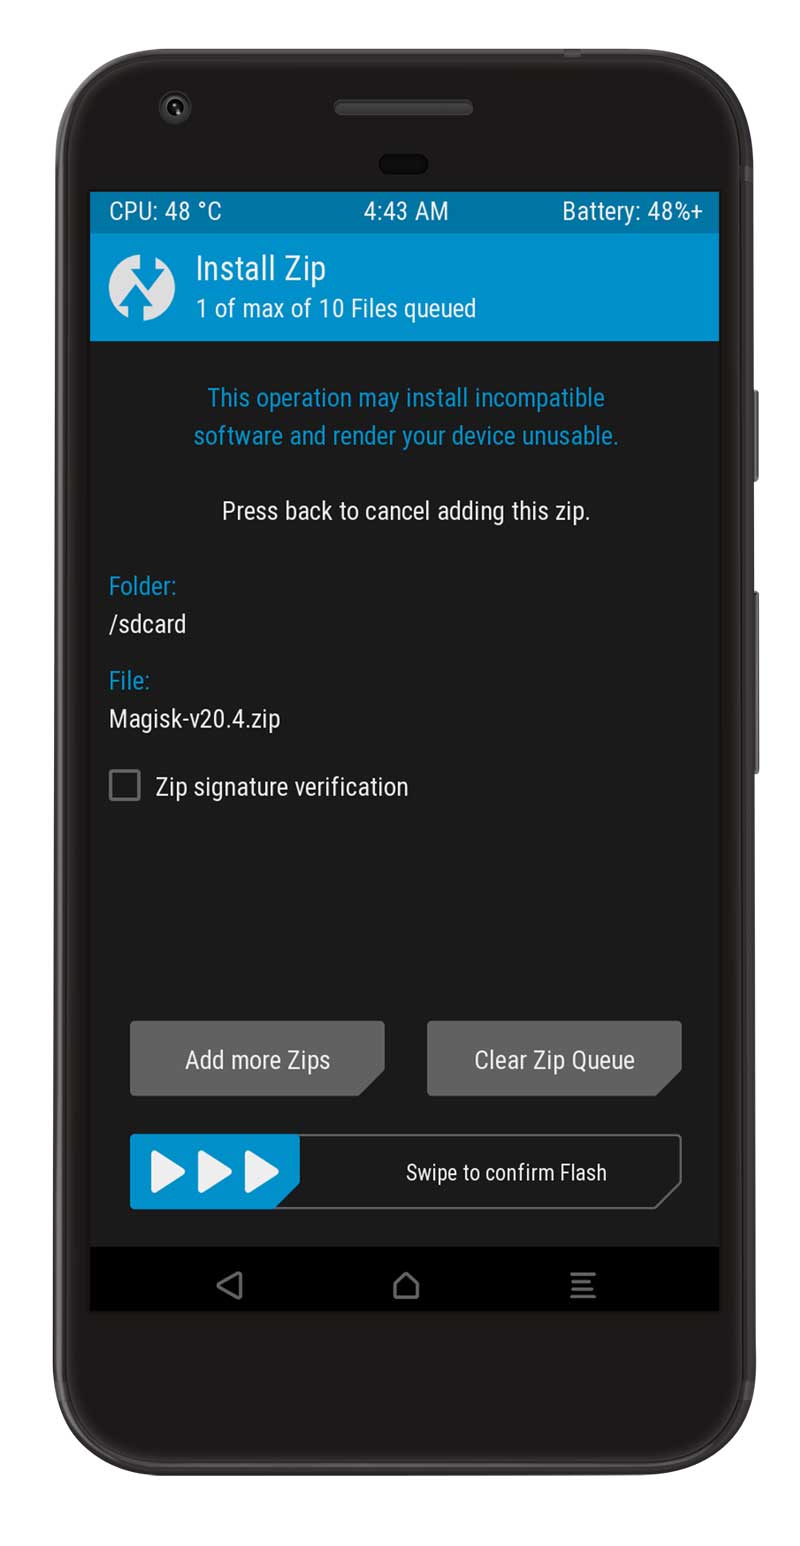
- Once the flashing process completes tap on the Reboot system.
- That’s it, you have successfully rooted your Asus ROG Phone 2 device.
Conclusion –
In this comprehensive guide, I have shown you each and every step required to Root Asus ROG Phone 2. You can further flash Magisk Modules on your device, this will help you customize your smartphone like a pro.
There are awesome Custom ROM’s available for Asus ROG Phone 2 like LineageOS, HavocOS, Pixel Experience ROM’s. You can flash these awesome ROM’s to improve your device performance. If you like stock android then make sure to try out Pixel Experience ROM. For more development, you can check out XDA-Developers.
That being said if you found this article helpful then do share your valuable thoughts in the comments. Also, if you are stuck at any of the steps or getting errors while following the guide then do write your issues in the comments. I will see in the next guide till then keep customizing your android.
does the MAGISK22.1 support rog2 android9 rooted?
Yes, Magisk 22.1 Supports all android version including the latest Android 11 OS.